How to check your public IP and test for a DNS leak
Every site you open sees one address of yours, your public IP. It isn’t the address in your Windows network settings, which only means something on your local network. Your public IP belongs to whatever connects you to the internet, your router or your tunnel, and it’s what sites use to guess your country and city.
Any “what is my IP” site will show it, along with the country and the provider. If you expected the tunnel’s address and see your home connection instead, the tunnel isn’t carrying your traffic. Keep in mind that such a site only shows that one moment; if the address changes an hour later, nothing tells you.
DNS leaks
Before the browser can open a site, it asks a DNS server for the site’s address. These lookups don’t always follow the rest of your traffic. Even with the tunnel up, they can go straight to your internet provider, who then sees the name of every site you visit. That’s a DNS leak.
A leak test has your PC look up a handful of unique names and then shows which servers did the lookups. If they belong to the network you expect, you’re fine. If they belong to your own provider, your DNS is leaking. The fix usually starts with your tunnel app, which should use its own DNS servers. You can also set DNS by hand under Settings → Network & internet → your adapter → DNS server assignment, and some tunnel apps recommend turning off Windows’ smart multi-homed name resolution as well.
In Neshta
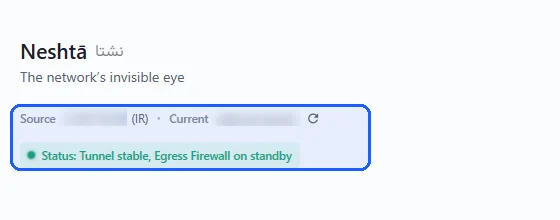
The dashboard shows your public IP with its country and provider, and Neshta lets you know when it changes. The DNS test is one click away on the Network IP page, and it warns you if anything goes around the tunnel.
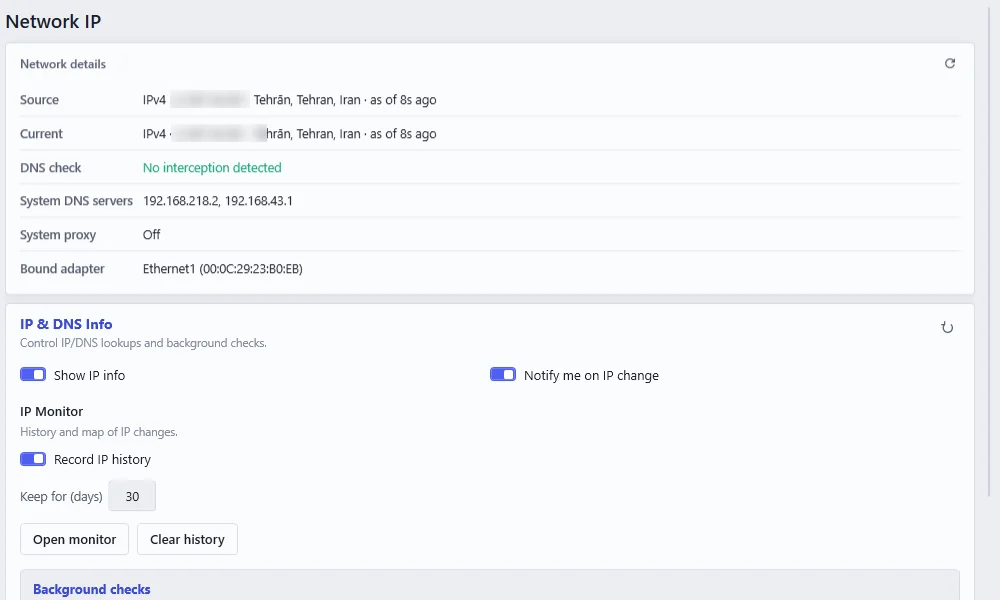
Every change is also saved in the IP Monitor, so later you can see when and from where you were connected. More in the IP Monitor.